To transfer a vehicle from a customer to another, some users will make the following mistakes:
- Simply edit the customer's name,
- Edit the new owner's vehicle information,
- Delete the vehicle from the old owner and create a new vehicle for the new owner.
Theses procedures often cause errors and problems to the follow-ups and you do want to keep the vehicle history. Here is the right away to proceed:
1- Do the vehicle transfer

From the main menu, go to [Customer Management] > [Customer Management],
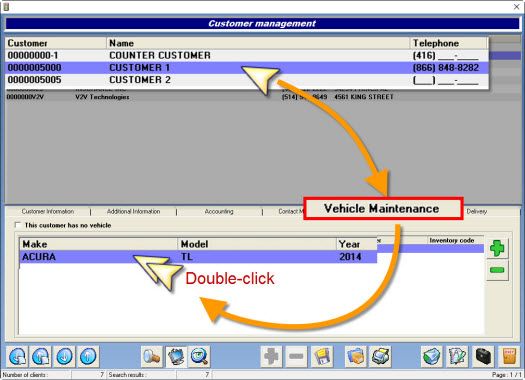
- Search and select the customer with the vehicle to transfer,
- Click on the tab « Vehicle Maintenance »,
- Double-click on the vehicle,
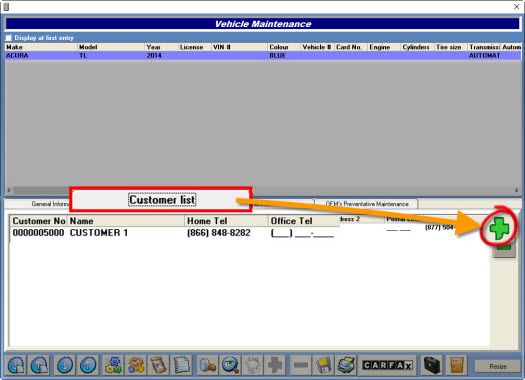
- Click on the tab « Customer list »,
- Click on the plus sign « + » to add a new owner,
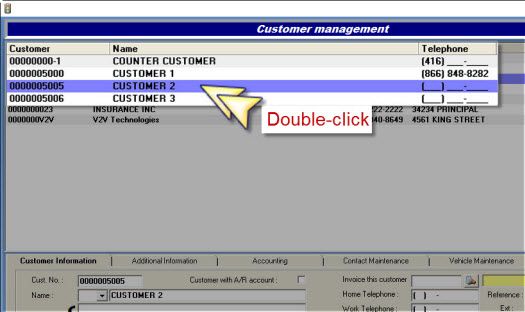
- Search for the new owner and double-click his name to add it,
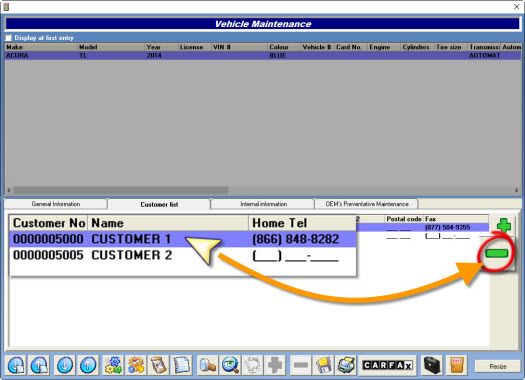
- Now select the old owner from the list,
- Click on the minus sign « - » to remove it,
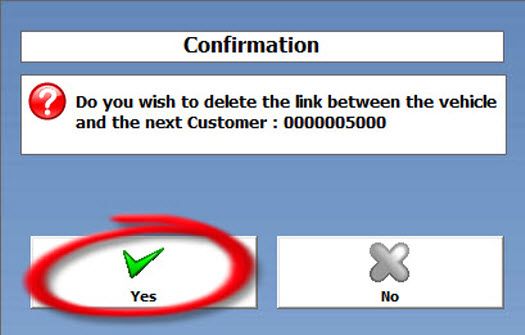
- Click « Yes » to delete the link between the vehicle and the old owner (that was selected),
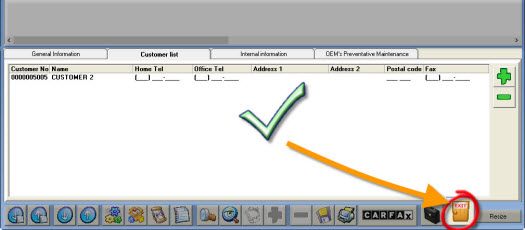
- Now that the old owner has been removed, click on the door to exit,
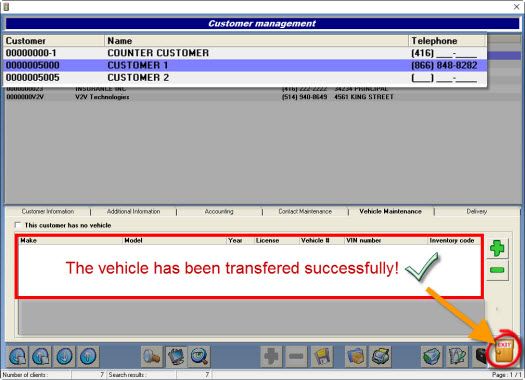
- As you can see the vehicle is not part of the old owner's vehicles list.
2- Check the history of a transfered vehicle
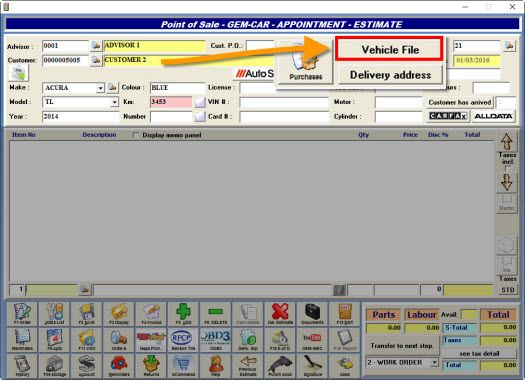
- Open the Point of Sale,
- Pull out the new owner/customer of the vehicle,
- Select the vehicle,
- Click on the button « Vehicle File »,
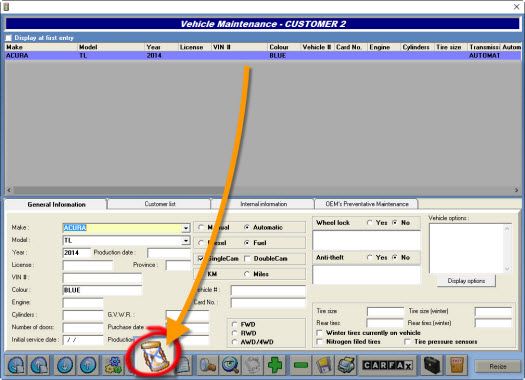
- On the « Vehicle Maintenance » window, click on the spy glass to view the vehicle history,
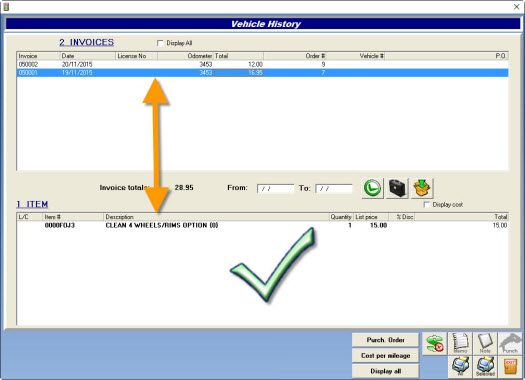
- You can now look at all the the repairs done on that vehicle.


 Click here to ask for a free demo


