


You can easily change the color code on the agenda by using the next steps
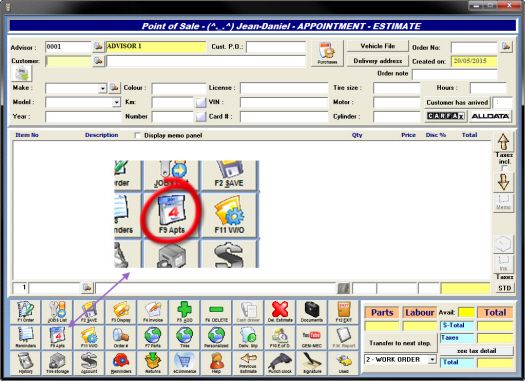
- Go to POS,
- Choose "F9"-Appointments,
- Go to "Colours",
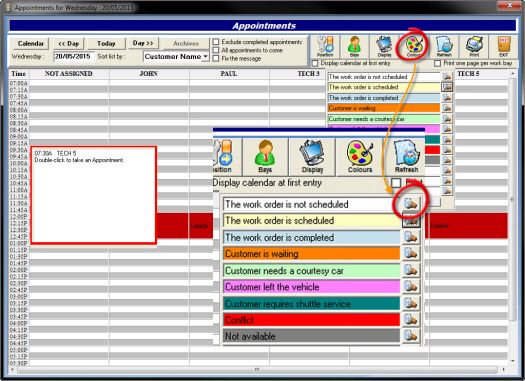
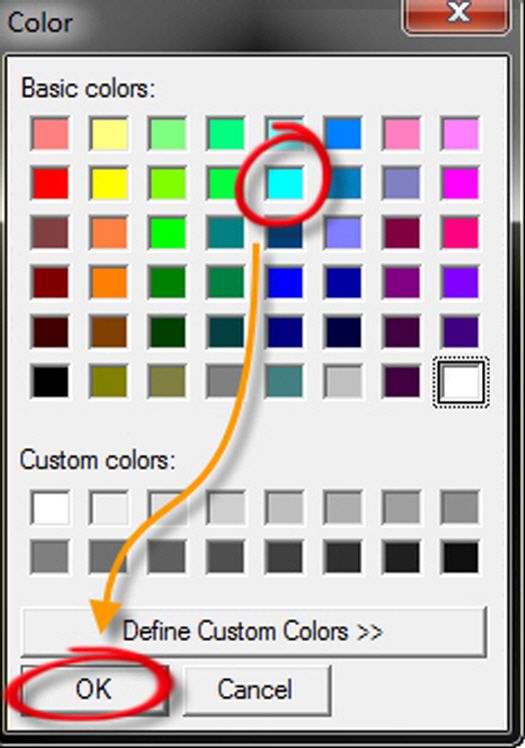
- Change your color code.
*** IMPORTANT NOTE ***
- The fields with colored background will only have the background color changed.
- The fields with colored text will only have the text color changed.
- You can always get back to the default colors by clicking "Default colors".


